Artificial turf installation has become an increasingly popular choice for homeowners and businesses looking for a low-maintenance, evergreen lawn. While the process might seem straightforward, each step requires careful planning and execution to ensure a durable and aesthetically pleasing result. Here at LBK TURF GUYS, we want to operate with clarity and integrity and want future clients, customers, and contractors to know exactly what they are getting into. This guide outlines, at a VERY basic level, the complete installation process, emphasizing the labor involved and current best practices for each stage.
Step 1: Ground Preparation (Tear-out)
The first step in installing artificial turf is ground preparation. This involves removing the existing surface, which is typically grass or dirt, to a depth of about 4 inches. This process is often referred to as “tear-out.” This depth ensures there is enough space for the base materials and the turf itself. Sometimes heavy equipment can be used, but for smaller, more unique projects tear-out must be done by hand. Hand tear-out always will increase labor costs.
Labor Involved:
Ground preparation is labor-intensive, requiring shovels, pickaxes, and sometimes small excavators for larger areas. Workers must ensure the area is level and clear of debris, roots, or rocks that could affect the turf’s appearance or performance. The soil is then compacted to create a stable foundation.
Step 2: Installing a Border
Borders are crucial for maintaining the shape and structure of the artificial turf. A concrete ribbon border is the best option due to its durability and ability to hold the turf securely in place. This border prevents the edges of the turf from lifting and provides a clean, finished look. Other options include wood or plastic edging, but they are less durable and can warp over time. Metal edging is not recommended as it can rust and cause damage to the turf and is considered the least effective option.
Labor Involved:
Pouring a concrete ribbon requires precision and skill. The process involves mixing concrete, laying forms, and carefully pouring and smoothing the concrete to form a consistent border. This step demands a steady hand and attention to detail to ensure the border is straight and level. Concrete is not something you want to cheap out on.
Step 3: Laying the Base
Once the border is in place, the next step is to lay a solid base for the turf. Crushed and washed limestone is the preferred material because it provides excellent drainage and is more resistant to odors than decomposed granite. The limestone base should be spread evenly and compacted to form a stable surface for the turf.
Labor Involved:
Laying the base involves spreading the limestone evenly across the surface and using a plate compactor to ensure it is tightly packed. This step is crucial as any unevenness can lead to bumps in the turf, affecting its appearance and performance. Workers must ensure the base is level and well-compacted to support the turf properly.
Step 4: Laying the Turf
With the base prepared, it’s time to lay the artificial turf. This involves unrolling the turf and cutting it to fit the designated area. Care must be taken to ensure the turf is laid out smoothly without wrinkles or creases.
LBK TURF GUYS TURF TIP: We at LBK TURF GUYS can make custom cuts using our LBK TURF CUTTER, so that when you are ready to install your turf- you have less waste. Less waste in your turf, means less wasted money. That’s more profit for the contractors, and more savings for the property owners!
Labor Involved:
Laying turf requires multiple workers to handle large, heavy rolls of turf and align them accurately. Precision is key, as even slight misalignments can become noticeable once the installation is complete. Workers use utility knives to cut the turf to size, making sure to account for any curves or edges in the landscape.
Step 5: Securing the Turf with Turf Nails
Once the turf is in position, it is secured using turf nails. These nails are driven into the base to hold the turf firmly in place and prevent shifting over time.
Labor Involved:
This process involves hammering nails every few inches along the perimeter and throughout the turf area. It’s physically demanding work, as each nail must be driven in with enough force to penetrate the base without damaging the turf fibers.
Step 6: Seaming with S-Seams
When joining sections of turf, S-seams are used to glue the pieces together seamlessly. This method is superior to using staples, which is considered outdated and not recommended due to the risk of the staples loosening over time and creating unsightly seams.
Why S-Seams are Better:
S-seams provide a more secure bond, ensuring the seams are virtually invisible and preventing any separation as the turf expands and contracts with temperature changes. The glue used in S-seams is strong and durable, offering a long-lasting solution that maintains the turf’s integrity and appearance.
Labor Involved:
Applying S-seams requires skill and precision. Workers must carefully align the edges of the turf sections, apply the adhesive, and press the seams together firmly. This step requires attention to detail to ensure the seams are tight and the adhesive is applied evenly.
Step 7: Infill Application
Infill is crucial for the performance and longevity of artificial turf. It provides cushioning, helps the blades stand upright, and contributes to the overall appearance of the turf. Sand or rubber infill can be used, each offering different benefits.
Labor Involved:
Spreading infill involves using a drop spreader to distribute the material evenly across the turf. This step requires multiple passes to ensure consistent coverage. Workers must then use a power brush to work the infill into the turf, ensuring it reaches the base and provides the necessary support.
Step 8: Brushing the Turf
After applying the infill, the turf is brushed to ensure the infill is evenly distributed and the blades stand upright. This step also helps to fluff the turf fibers, giving the lawn a natural, lush appearance.
Labor Involved:
Brushing the turf is a physical task that involves using a power brush or push broom to work the infill into the base and lift the turf fibers. Workers must cover every inch of the turf to ensure a uniform look and feel.
Step 9: Final Cleaning and Inspection
The last step in the installation process is a thorough cleaning and inspection. This ensures any debris or excess materials are removed and that the turf is installed correctly.
Labor Involved:
Workers conduct a final walk-through, looking for any imperfections or areas that need adjustment. This step involves sweeping the area with a leaf blower to remove any loose debris and checking the seams and edges to ensure everything is secure.
Conclusion
Installing artificial turf is a detailed process that requires careful planning and skilled labor. Each step, from ground preparation to final inspection, plays a vital role in ensuring a successful installation. By following these guidelines and choosing the right materials and methods, you can achieve a beautiful, durable artificial lawn that enhances your outdoor space.
At LBK TURF GUYS, our team of experienced professionals is dedicated to providing top-quality turf installations that meet your specific needs. Contact us today to learn more about our services and how we can transform your landscape with artificial turf.
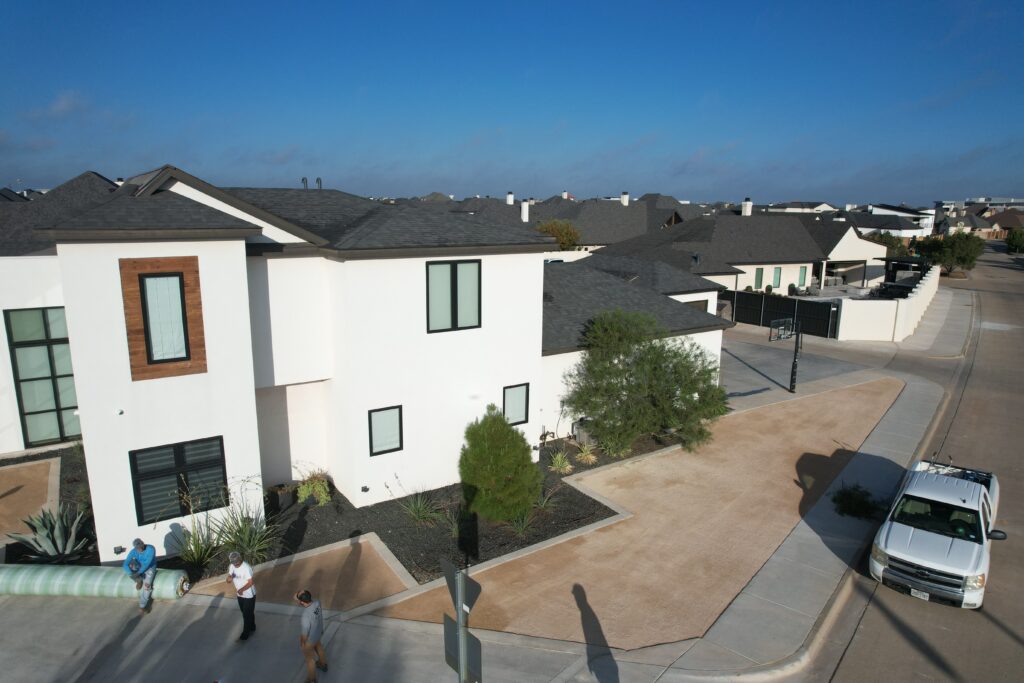
LBK TURF GUYS at work prepping for the turf lay down after base installation- we have a proprietary blend of crushed and washed limestone that is odor-repellent and is better long term than decomposed granite.
Come back and join us again for more information on Lets Talk Turf, and for more information check out the industry leaders, Synthetic Grass Warehouse!